
Howdy, Dunkers! Today I’m going to show you just how easy it is to publish a new project in your Dunked portfolio.
Dunked gets out of your way and makes publishing a project super simple so you can get back to creating. Unlike other platforms, there’s no clunky plugins to manage or monthly updates nagging you.
If you don’t already have a Dunked account, sign up today! You can fire up a Dunked portfolio free of charge for 10 days and preview your work on nearly 20 beautiful templates.
1. Pick a template
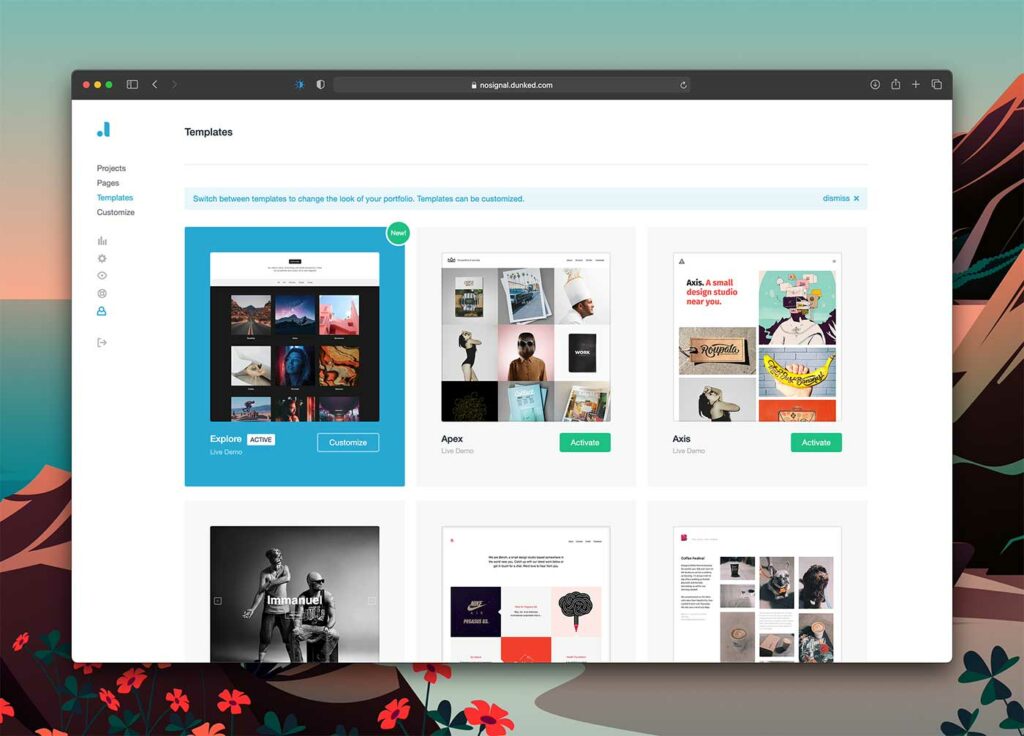
First things first, we need to find a template that suits you. In your Dunked admin, click the Templates link in the left hand sidebar to preview all of the templates.
Dunked has 18 gorgeous portfolio templates that will all give you a ready-to-hire portfolio, but take your time and find the template that calls to you. Don’t worry, changing templates later is super easy (and fun).
For this tutorial, I’m going to choose the Explore template because I love how it displays my photographs and galleries.
2. Gather your media
We have you covered on all media formats – Dunked supports images, galleries, embedded video (YouTube and Vimeo) and embedded audio (SoundCloud).
Collect your best design screenshots, your finely-edited photographs, and freshly-exported videos and organize them into a folder for quick uploading.
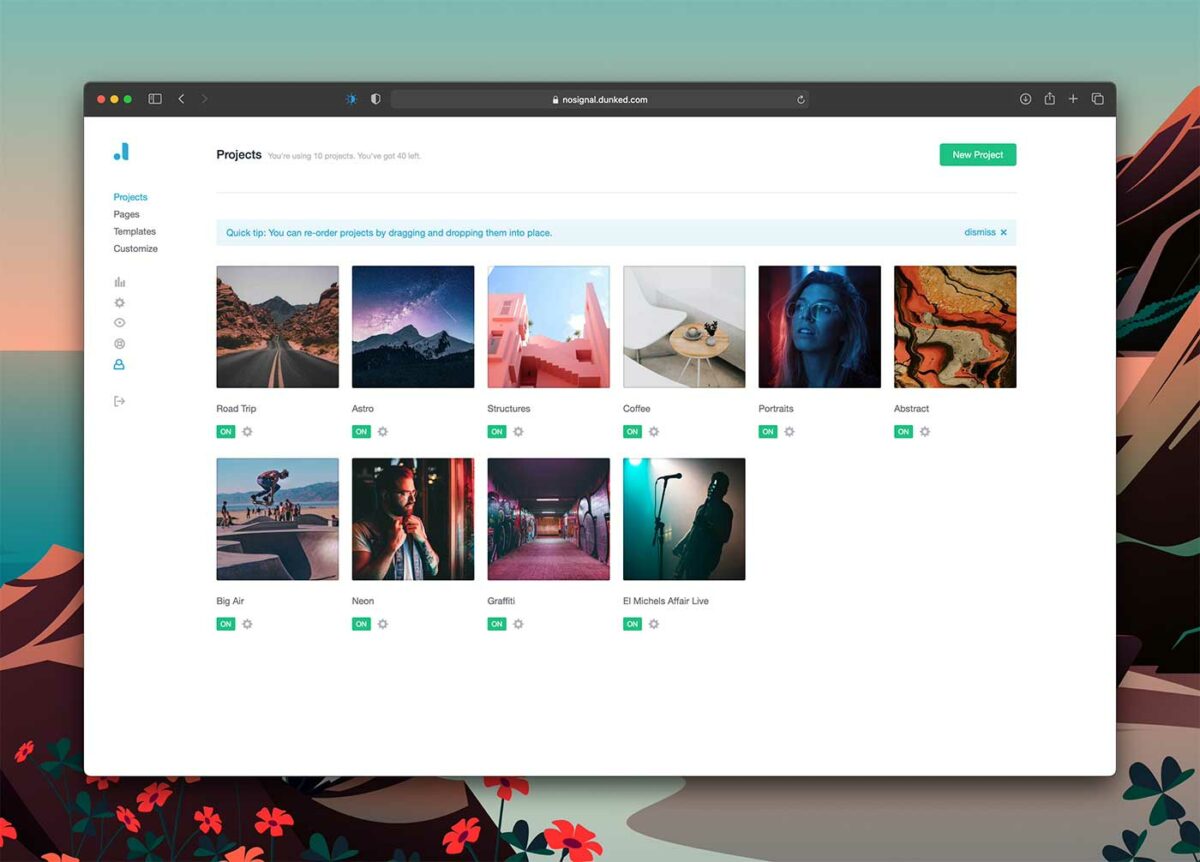
3. Create a new project
Creating a new project is easy peasy. On the left hand sidebar of your Dunked admin, hover over Projects and click + New Project. You can also add a new project from the Projects overview page.
Upload your media
Using the media area at the top of your New Project page, drag and drop your images onto the box with the dotted border, or click the box and browse for your media.
Once uploaded, you can drag and drop your media to reorganize it however you want. Simple!
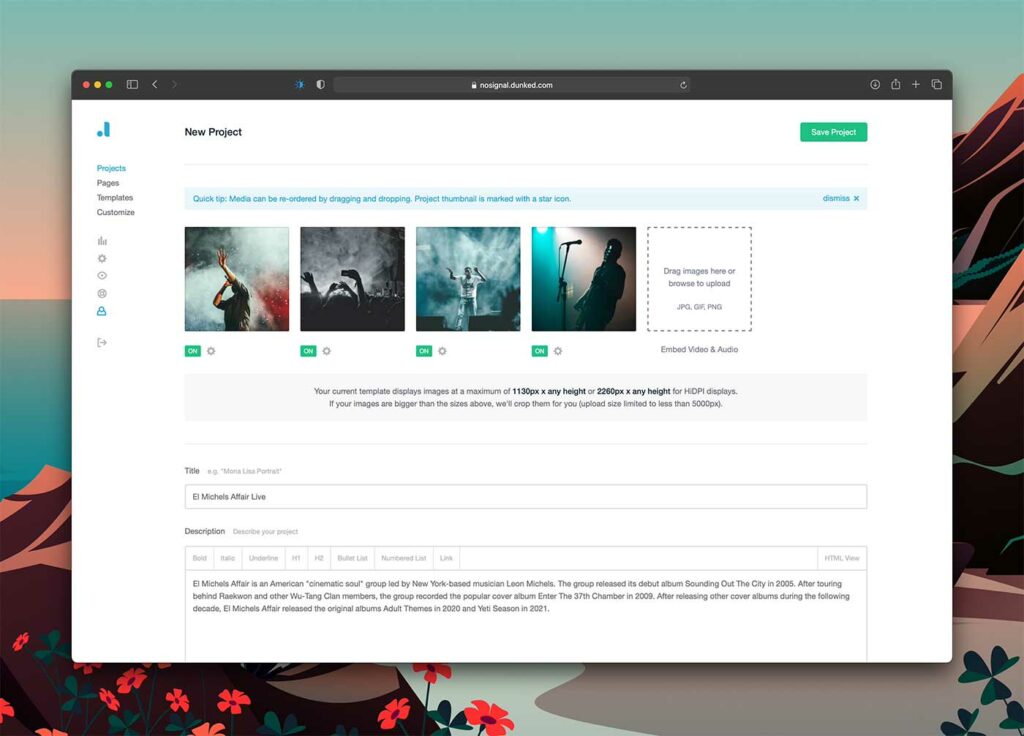
Add your project deets
Next, let’s tell the people about your project. Add a Title (which will be used to create an editable URL) and add a Description of your project.
Use the description to share something interesting about the project that visitors, prospective clients, and recruiters might find valuable. Every project has a story behind it.
Once you’ve got a good description, move onto the project meta (Date, Client, Role, URL, and Tags). These details aren’t required to publish your project, but they do make the project look more professional and give visitors more context about your work.
Not only do Tags help visitors find your related work, some templates use Tags as a project filter feature, so I would recommend adding them.
4. Publish it
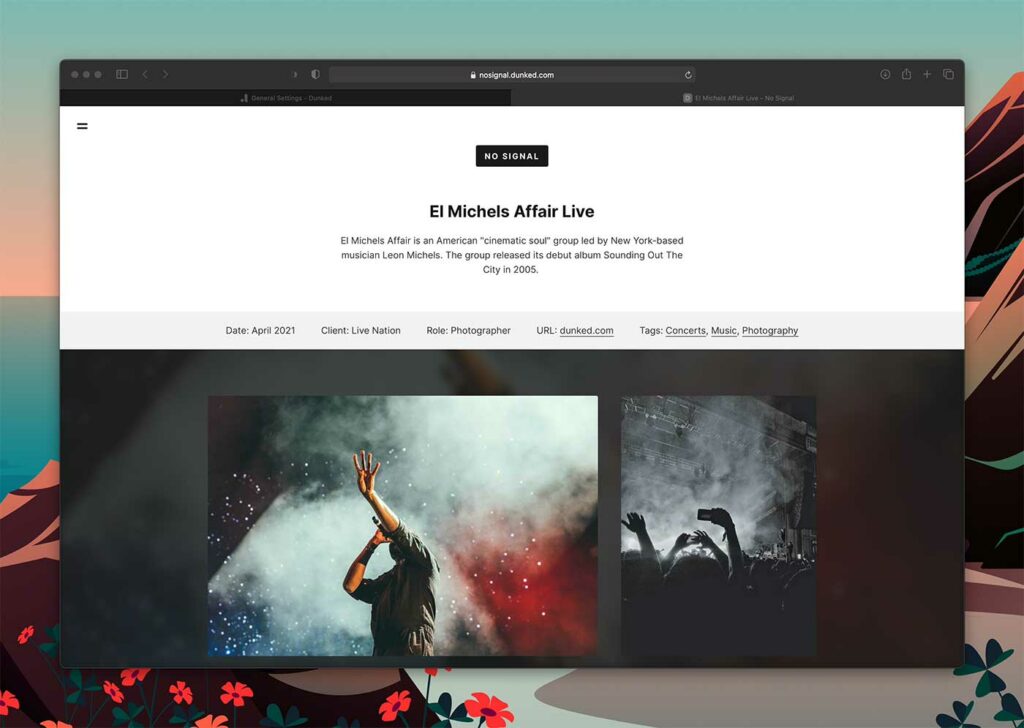
That was quick, huh? Once you’ve filled out all of the details of your project, go ahead and hit the Save Project button and click the View Project button in the upper right hand corner of your Dunked admin.
Your project will now be available on your homepage, and it will have a dedicated project page on your site.
Dunked is made for you
We made Dunked from the ground up to help you easily launch a beautiful portfolio. We’ve removed all the distractions so you don’t get sidetracked managing the software instead of creating powerful work and sharing it with the world.
Grab a free portfolio today and see how quickly you can get up and running with one of our stunning templates.